Install the Costpoint Word Template Add-In (Desktop Version 2013 and Greater)
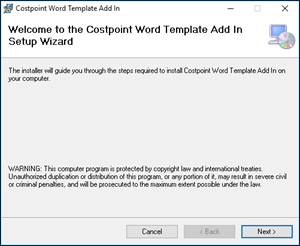
This topic explains how to install the Word template add-in.
The Costpoint Word Template add-in is available on DSM.
Note: If you are using Deltek Cloud, see KB Article 96574: "How to download the Costpoint Word Template Add In." The KB article includes the required installation file and installation instructions are available on the Deltek Support Center (https:// deltek.custhelp.com).
The add-in works on the Windows version of Microsoft© Word Desktop version 2013 and greater (not Office 365 or Mac versions). You must have full rights to the folder where the metadata definition is stored. The default is C:\Program Data\Deltek\Costpoint\CPWordAddIn.
To download the Costpoint Word Template add-in file:
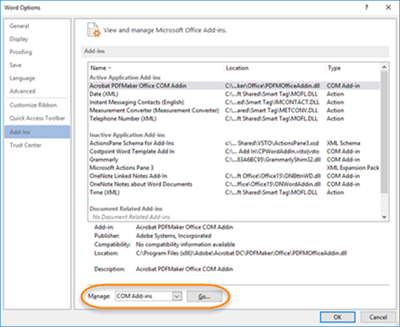
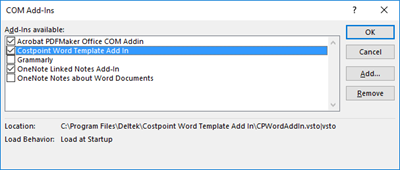
Note: To disable this version of the Costpoint Word Template add-in, repeat steps 5 through 8 and clear the Costpoint Word Template Add In checkbox .


